Creating Your Own Minecraft Skin: A Beginner’s Guide
Hello Today I am going to be showing you an app to create your skin and how to equip it in Minecraft. So let's jump right in! (Also Nothing here is sponsored)
So first You are going to want to download an app so that you can create Your own skin. Both these are free but if they ask to track your location for “ad specification stuff” don’t let them you’ll still be able to make your skin.
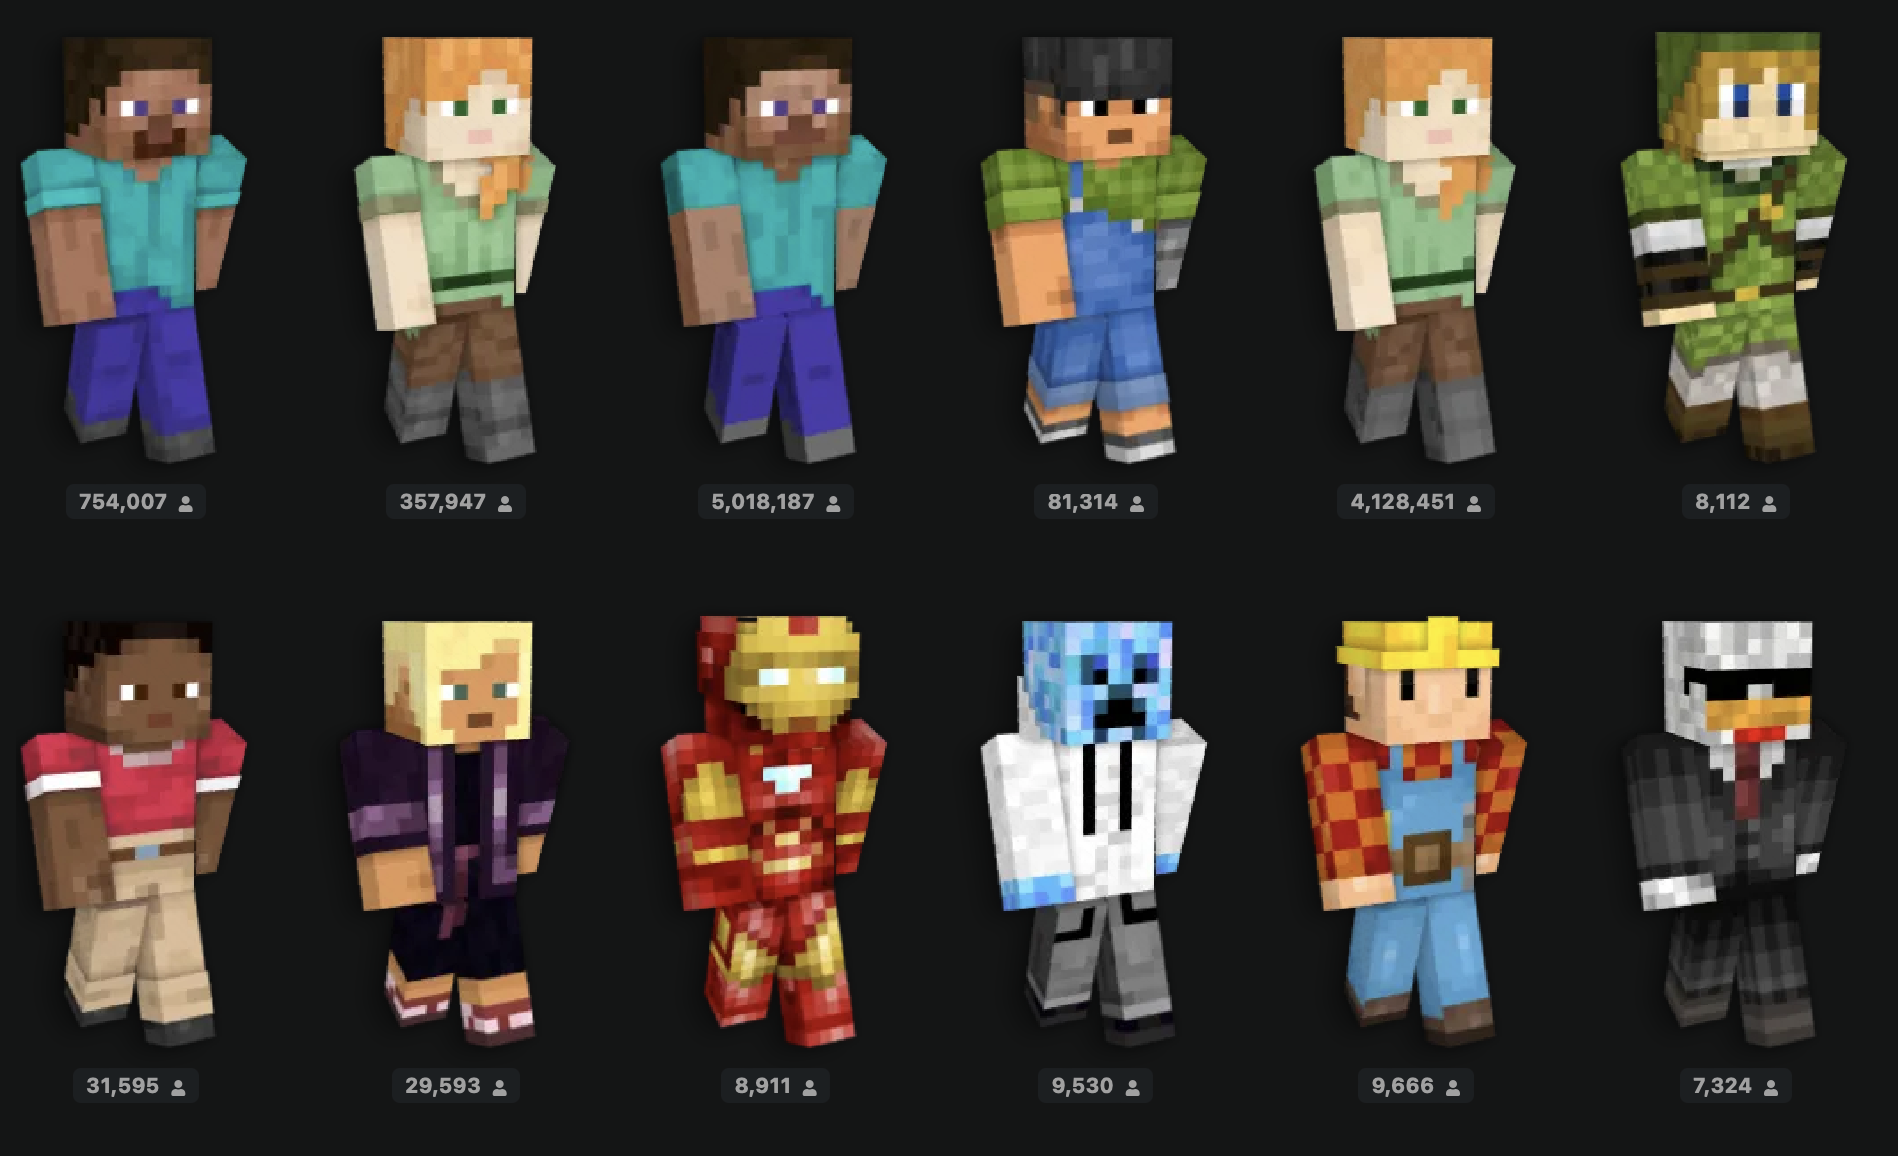
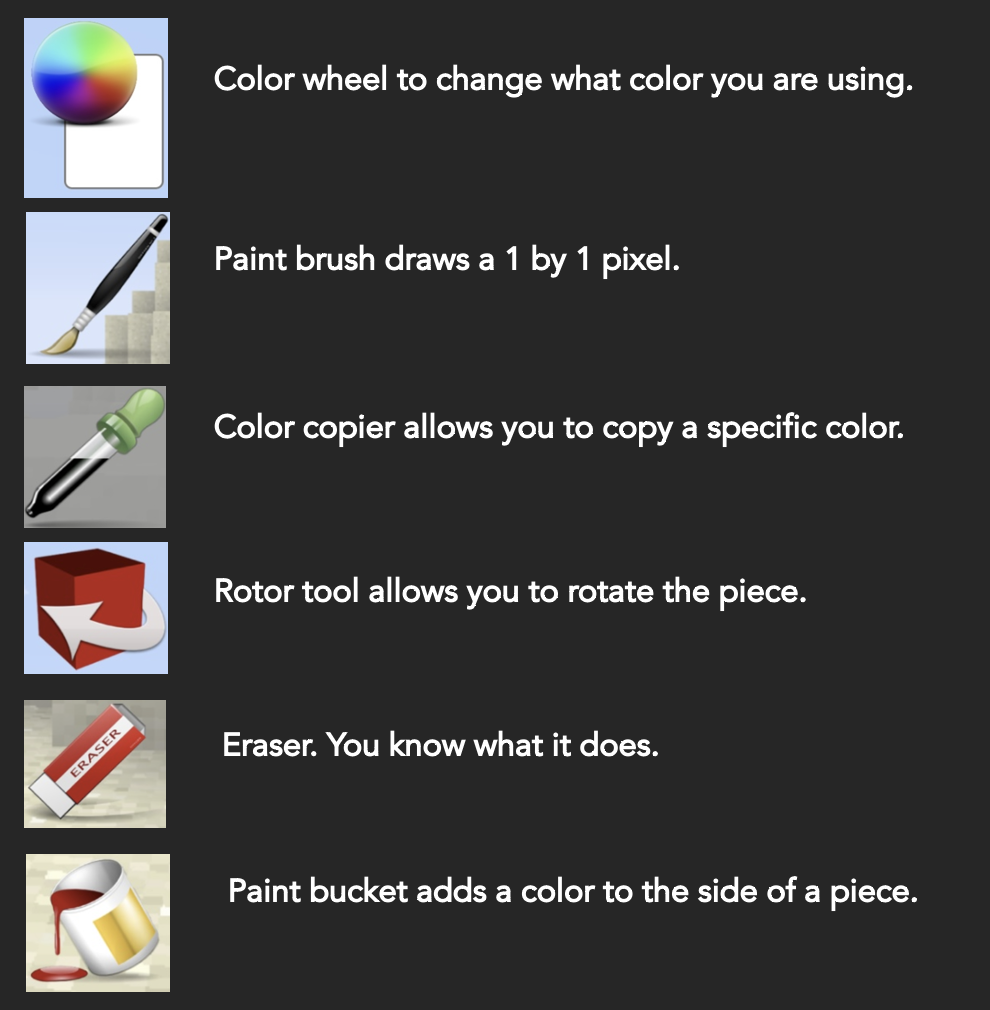
Ok So let’s start off with the SkinCreater3D In this app you can either Use a generated skin or you can make a blank skin so just color all the stuff. And first let's look at the tools that you have in SkinCreater3D:
So now here is how it works so you can either generate a skin or create a blank one as you know ( I would recommend the blank option) And to draw you have to tap on the body part (body, head, right leg, left arm ect.) you want to draw and use the tools to do what you want. Also if you want to make something as an accessory or not you can go to the accessory and make it hidden or not hidden and then you can draw it as an accessory or as the actual skin. TO export it you should press The upload button and choose what way you want
To upload it (The image option is best)
Ok so now that we have finished the iOS way of making it we go to the Android and then how to equip the skin cause it is same on either android or IOS So if you are IOS then skip this part if your Android then continue
So let's begin with the tools: They are very similar in the kinds of tools that you can use so first lets begin with what they have in common. Paint bucket, Brush (it is shown as a maker though), Rotating thingy, Eraser, Color selector & Color copier. Some other options that you have are the Undo and redo, Zoom in zoom out, Hide/Show Body Parts, a shirt with a hanger that turns on and of all accessories. Finally, a thing that lets you watch an ad and does nothing.
So Now that we have gone over the Tools let go over how you would create your skin. So when you open it it gives you a character with a steve skin and you can use the tools to edit it to how you want. To upload it Press share and save it as an image.
Ok so to upload it you go to Minecraft press Classic character, And upload it as your character. Then you can select it as your character.
BOOM! You have now completed making your own Skin Good job! Well enjoy playing Minecraft with Your New Skin. And maybe Read another Post? If you want more Minecraft posts read this one —> Tips for Beating Minecraft Legends. Alright cya later!